영상 처리 라이브러리#
OpenCV, PIL, scikit-image#
OpenCV는 1999년 IPL(image process library)을 기반으로 C언어로 시작되었으며 2000년 1.0버전부터 미리 컴파일된 파이썬 모듈과 C++를 위한 CMake가 추가되었다. 현재 4.0 버전을 최신 버전으로 배포하고 있다. Python Imaging Library(PIL)은 파이썬 인터프리터에 다양한 이미지 파일 형식을 지원하고 강력한 이미지 처리와 그래픽 기능을 제공하는 자유-오픈 소스 소프트웨어 라이브러리이다. 개발은 2011년 마지막 커밋으로 중단된 것으로 보이며 Pillow라는 후속 프로젝트가 PIL 저장소에서 포크되어 Python 3.x 지원을 추가 했다.
pip install opencv-python
pip install --upgrade Pillow
conda install scikit-image
이미지 파일 형식#
BMP: 비트맵(bitmap) 파일은 지금까지 설명한 다차원 배열정보를 그대로 담고있다. 하지만 비트맵 파일은 파일 용량이 크기 때문에 압축을 통해 용량을 줄인 JPG, GIF, PNG 등의 압축 파일 형식도 많이 사용한다.
JPEG : JPEG(joint picture experts group)는 이미지 압축 기술자 모임인 JPEG 위원회에서 개발한 이미지 파일 형식이다. JPEG 파일은 웹상 및 멀티미디어 환경에서 가장 널리 사용되고 있는 포맷이다. JPG라는 확장자도 같이 사용된다. RGB모드와 CMYK모드를 둘 다 지원한다. RGB 이미지의 모든 컬러 정보를 유지한다. 이미지를 만드는 사람이 이미지의 질과 파일의 크기를 손실압축방식을 통해 조정할 수 있다. 단점은 투명 이미지를 지원하지 않는다. 압축율을 높일 수록 이미지의 질이 손상된다. 레이어와 알파채널을 지원하지 않는다.
GIF : GIF(graphics interchange format)는 1987년 미국의 통신업체인 컴퓨서브(Compuserve)에서 개발한 포맷이다. 하나의 파일에 여러 비트맵을 저장하여 다중 프레임 애니메이션을 구현 할 수 있다. 투명 이미지를 지원한다. 애니메이션을 특별한 플러그인 없이 여러 환경에서 쉽게 적용할 수 있다. 하지만 8비트 256 컬러로 제한된다.
PNG : PNG(potable network graphics)는 GIF 포맷을 대체하기 위해 개발된 파일 포맷이다. 비손실 압축방식으로 원본에 손상 없이 파일의 크기를 줄여준다. 이미지의 모든 컬러정보와 알파 채널을 보존하고 있으므로 포토샵에서 활용하기 용이하다. 문자 혹은 날카로운 경계가 있는 이미지인 경우 JPG보다 PNG가 효과적이다. 하지만 GIF와 달리 애니메이션을 만들 수 없다. JPG 와 GIF보다 용량이 크다.
TIFF: 1986년에 앨더스(Aldus, 현재 어도비)사와 마이크로소프트가 TIFF(tagged image file format)를 개발하였다. TIFF는 무손실 압축과 태그를 지원하는 최초의 이미지 포맷이다. 확장자는 *.tiff 및 *.tif이다. 당시에는 PNG라는 무손실 이미지 포맷이 존재하지 않았고, 그래픽 및 출판 업계에서는 화질 열화 없이 이미지를 취급할 수 있는 이미지 배급 포맷을 개발해야 할 필요성이 생겼다.
이미지 다운로드#
# script.py
import cv2
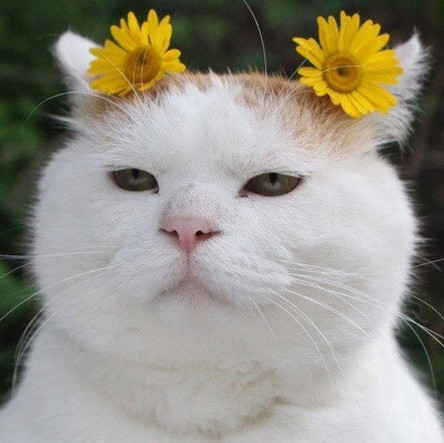
image = cv2.imread('./img/cat-01.jpg')
cv2.imshow('image', image)
cv2.waitKey(0)
cv2.destroyAllWindows()
// script.cpp
#include "opencv2/opencv.hpp"

int main()
{

    cv::Mat image;
    image = cv::imread('./img/cat-01.jpg');
    cv::imshow("image", image1);
    cv::waitKey(0);
    cv::destroyWindow();

    return 0;
}
import cv2
import matplotlib.pyplot as plt

image = cv2.imread('./img/cat-01.jpg')
plt.imshow(image)
plt.title(type(image))
plt.show()
---------------------------------------------------------------------------
ModuleNotFoundError                       Traceback (most recent call last)
Cell In[1], line 1
----> 1 import cv2
      2 import matplotlib.pyplot as plt
      4 image = cv2.imread('./img/cat-01.jpg')

ModuleNotFoundError: No module named 'cv2'
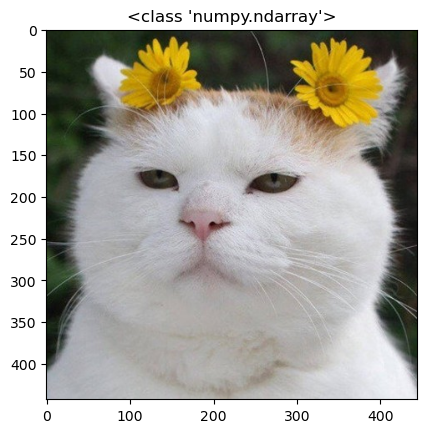
import cv2
import matplotlib.pyplot as plt

image = cv2.imread('./img/cat-01.jpg')
image = cv2.cvtColor(image, cv2.COLOR_BGR2RGB)
plt.imshow(image)
plt.title(type(image))
plt.show()
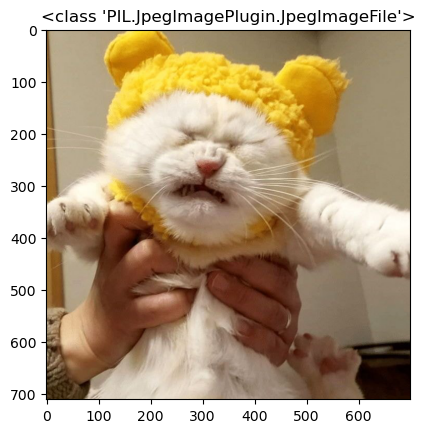
import matplotlib.pyplot as plt
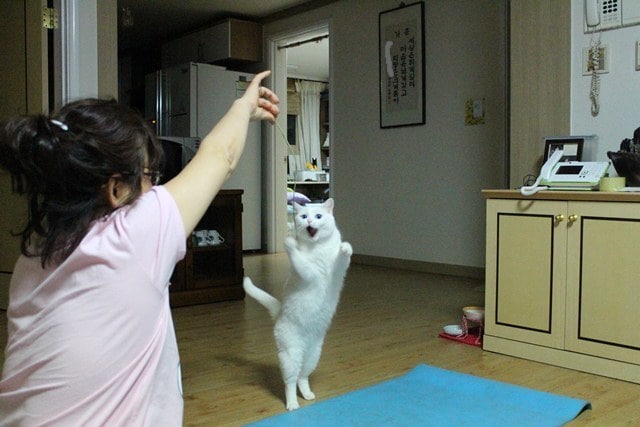
image = plt.imread('./img/cat-02.jpeg')
plt.imshow(image)
plt.title(type(image))
plt.show()
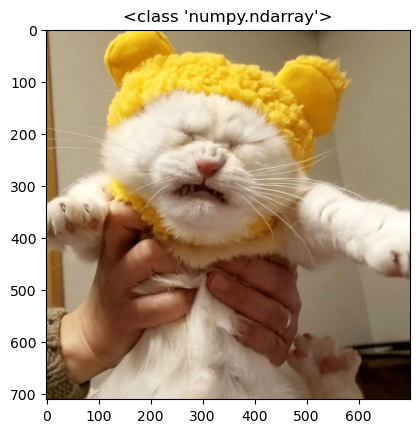
from PIL import Image
import matplotlib.pyplot as plt

image = Image.open('./img/cat-02.jpeg')
plt.imshow(image)
plt.title(type(image))
plt.show()
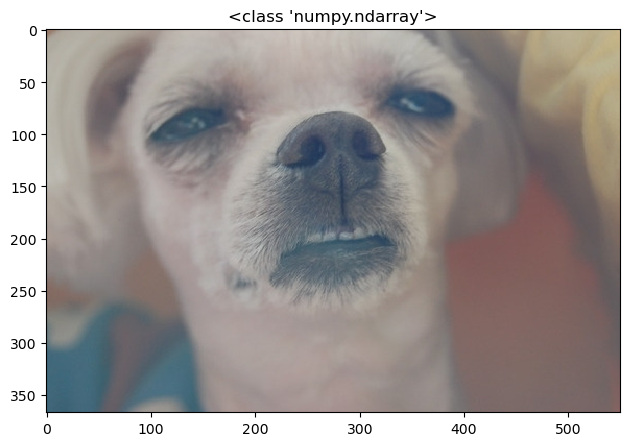
from skimage import io

image = io.imread('./img/dog-01.jpg')
io.imshow(image)
plt.title(type(image))
plt.show()
import cv2
import numpy as np
import matplotlib.pyplot as plt
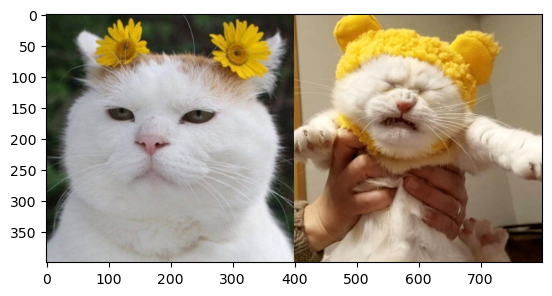
image1 = cv2.imread('./img/cat-01.jpg')
image1 = cv2.cvtColor(image1, cv2.COLOR_BGR2RGB)
image1 = cv2.resize(image1, (400, 400))
image2 = cv2.imread('./img/cat-02.jpeg')
image2 = cv2.cvtColor(image2, cv2.COLOR_BGR2RGB)
image2 = cv2.resize(image2, (400, 400))
images = np.concatenate((image1, image2), axis=1)
plt.imshow(images)
plt.show()
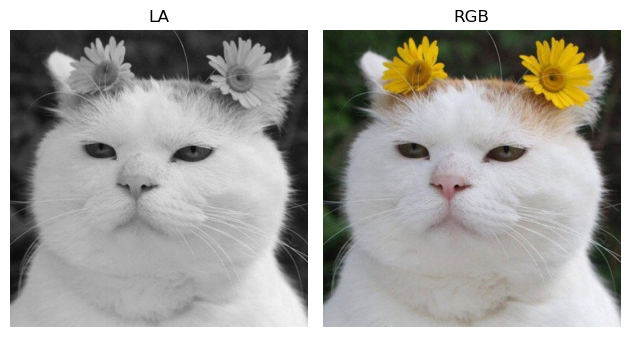
from PIL import Image
import matplotlib.pyplot as plt

image1 = Image.open('./img/cat-01.jpg').convert('LA')
image2 = Image.open('./img/cat-01.jpg')
fig, (ax1, ax2) = plt.subplots(ncols=2, dpi=100)
ax1.imshow(image1)
ax2.imshow(image2)
ax1.set_title(image1.mode)
ax2.set_title(image2.mode)
ax1.axis('off')
ax2.axis('off')
fig.tight_layout()
plt.show()
import cv2

cap = cv2.VideoCapture('./img/AuroraBorealis.mp4')
if cap.isOpened():
    while True:
        ret, img = cap.read()
        if ret:
            cv2.imshow('video', img)
            cv2.waitKey(24)
        else:
            break
else:
    print("can't open video file.")
cap.release()
cv2.destoryAllWindows()
Video by mohamed Hassan from Pixabay
FPS와 지연 시간
프레임 레이트를 확인. 1초에 몇 개의 사진이 들어가야하는지 지연시간 = 1000 / FPS 1,000으로 계산하는 이유는 1초를 밀리초(ms) 단위로 환상해서 제공해야 하기 때문이다. FPS를 40으로 가정해서 대입한 결과는 다음과 같다. 25 = 1000/40
import cv2

cap = cv2.VideoCapture('./img/AuroraBorealis.mp4')
fps = cap.get(cv2.CAP_PROP_FPS)
delay = int(1000/fps)
print(f'FPS: {fps}, Delay: {delay}')
while True:
    ret, frame = cap.read()
    if ret:
        cv2.imshow('video', frame)
        cv2.waitKey(delay)
    else:
        break
cap.release()
cv2.destroyAllWindows()
import cv2

cap = cv2.VideoCapture('./img/AuroraBorealis.mp4')
width = cap.get(cv2.CAP_PROP_FRAME_WIDTH)
height = cap.get(cv2.CAP_PROP_FRAME_HEIGHT)
print(f'Width: {width}, Height: {height}')
Width: 1920.0, Height: 1080.0
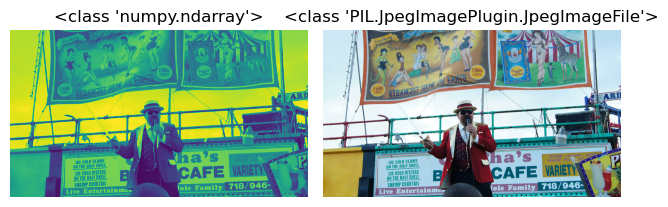
import cv2
from PIL import Image

# cv2.IMREAD_UNCHANGED
image1 = cv2.imread('./img/man.jpeg', cv2.IMREAD_GRAYSCALE)
image2 = Image.open('./img/man.jpeg')

fig, (ax1, ax2) = plt.subplots(ncols=2)
ax1.imshow(image1)
ax2.imshow(image2)
ax1.set_title(type(image1))
ax2.set_title(type(image2))
ax1.axis('off')
ax2.axis('off')
fig.tight_layout()
plt.show()
도형 그리기#
이미지에 사각형, 원, 타원과 같은 도형을 그리는 opencv와 matplotlib 함수에 대해 학습한다.
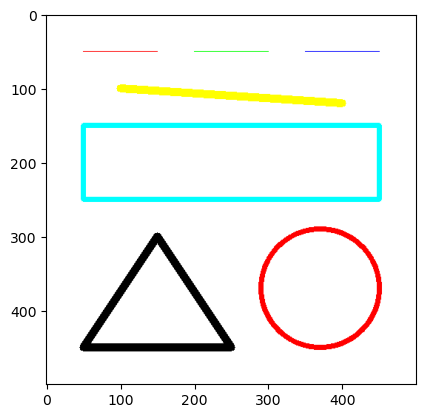
OpenCV#
import numpy as np
import cv2


image = np.full((500, 500, 3), 255, dtype=np.uint8)
cv2.line(image, pt1=(50, 50), pt2=(150, 50), color=(255,0,0), thickness=1)
cv2.line(image, (200, 50), (300, 50), (0,255,0))
cv2.line(image, (350, 50), (450, 50), (0,0,255))
cv2.line(image, (100, 100), (400, 120), (255,255,0), 10)
cv2.rectangle(image, (50, 150), (450, 250), (0,255,255), 5)

points = np.array([[150, 300], [50, 450], [250, 450]])
cv2.polylines(image, pts=[points], isClosed=True, color=(0, 0, 0), thickness=10)
cv2.circle(image, center=(370, 370), radius=80, color=(255,0,0), thickness=5)
plt.imshow(image)
plt.show()
import numpy as np


image = np.full((500, 500, 3), 255, dtype=np.uint8)
# print(image)
cv2.rectangle(image, (50, 50), (150, 150), (255,0,0))
cv2.rectangle(image, (300, 300), (100, 100), (255,0,0), 10)
cv2.rectangle(image, (450, 200), (200, 450), (255,0,0), -1)

plt.imshow(image)
plt.show()

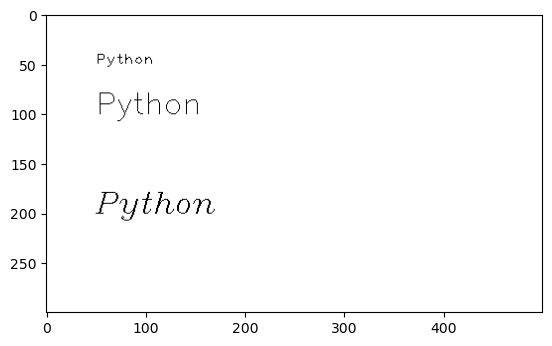
import numpy as np
import cv2


image = np.full((300, 500, 3), 255, dtype=np.uint8)
cv2.putText(image, 'Python', (50, 50), cv2.FONT_HERSHEY_PLAIN, 1, (0, 0, 0))
cv2.putText(image, 'Python', (50, 100), cv2.FONT_HERSHEY_SIMPLEX, 1, (0, 0, 0))
cv2.putText(image, 'Python', (50, 200), cv2.FONT_HERSHEY_COMPLEX | cv2.FONT_ITALIC, 1, (0, 0, 0))
plt.imshow(image)
plt.show()
import sys
from PIL import Image, ImageDraw

image = np.full((500, 500, 3), 255, dtype=np.uint8)
image = Image.fromarray(image)
draw = ImageDraw.Draw(image)
draw.line((50, 50, 150, 50), fill=(255,0,0))
draw.line((200, 50, 300, 50), fill=(0,255,0))
# draw.line((0, im.size[1], im.size[0], 0), fill=128)

plt.imshow(image)
plt.show()
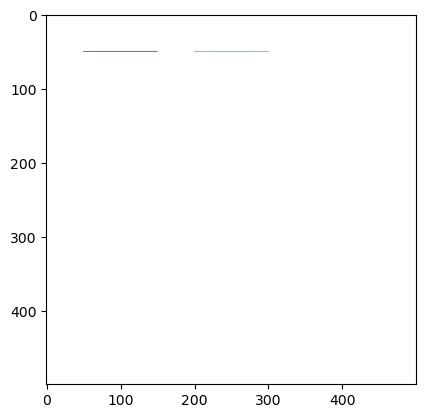
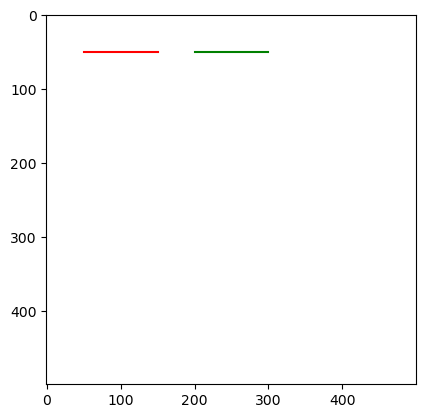
import matplotlib.pyplot as plt
from matplotlib.patches import Rectangle
from matplotlib.lines import Line2D


fig, ax = plt.subplots()
image = np.full((500, 500, 3), 255, dtype=np.uint8)
ax.add_line(Line2D((50, 150), (50, 50), color='red'))
ax.add_line(Line2D((200, 300), (50, 50), color='green'))
ax.imshow(image)
plt.show()
import sys
from PIL import Image, ImageDraw

with Image.open("./img/flower-gray.jpeg") as im:
    draw = ImageDraw.Draw(im)
    draw.line((0, 0) + im.size, fill=128)
    draw.line((0, im.size[1], im.size[0], 0), fill=128)
    plt.imshow(im)
    plt.show()

print(im)
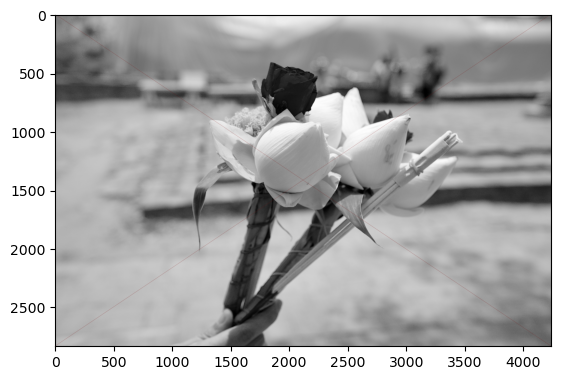
<PIL.JpegImagePlugin.JpegImageFile image mode=RGB size=4240x2832 at 0x7FECF0309DC0>
키 이벤트#
import cv2

image = cv2.imread('./img/cat-01.jpg')
title = 'Image'
x, y = 100, 100

while True:
    cv2.imshow(title, image)
    cv2.moveWindow(title, x, y)
    key = cv2.waitKey(0) & 0xFF
    print(key, chr(key))
    if key == ord('h'):
        x -= 10
    elif key == ord('j'):
        y += 10
    elif key == ord('k'):
        y -= 10
    elif key == ord('l'):
        x += 10
    elif key == ord('q') or key == 27:
        break
        cv2.destoryAllWindows()
    cv2.moveWindow(title, x, y)
마우스 이벤트#
import cv2
import numpy as np

title = 'mouse event'
# image = cv2.imread()
image = np.full((500, 500, 3), 255, dtype=np.uint8)
cv2.imshow(title, image)

def onMouse(event, x, y, flags, param):
    print(event, x, y, flags, param)
    if event == cv2.EVENT_LBUTTONDOWN:
        cv2.circle(image, (x, y), 30, (0, 0, 0), -1)
        cv2.imshow(title, image)

cv2.setMouseCallback(title, onMouse)

while True:
    if cv2.waitKey(0) & 0xFF == 27:
        break

cv2.destroyAllWindows()
마우스 이벤트#
import cv2
import numpy as np

title = 'mouse event'
image = np.full((500, 500, 3), 255, dtype=np.uint8)
cv2.imshow(title, image)

colors = {
    'black': (0, 0, 0),
    'red': (0, 0, 255),
    'blue': (255, 0, 0),
    'green': (0, 255, 0)
}

def onMouse(event, x, y, flags, param):
    print(event, x, y, flags, param)
    color = colors['black']
    if event == cv2.EVENT_LBUTTONDOWN:
        if flags & cv2.EVENT_FLAG_CTRLKEY and flags & cv2.EVENT_FLAG_SHIFTKEY:
            color = colors['green']
        elif flags & cv2.EVENT_FLAG_SHIFTKEY:
            color = colors['blue']
        elif flags & cv2.EVENT_FLAG_CTRLKEY:
            color = colors['red']

        cv2.circle(image, (x, y), 30, color, -1)
        cv2.imshow(title, image)

cv2.setMouseCallback(title, onMouse)

while True:
    if cv2.waitKey(0) & 0xFF == 27:
        break

cv2.destroyAllWindows()
트랙바#
import cv2
import numpy as np


image = np.full((300, 500, 3), 255, dtype=np.uint8)
cv2.imshow('Change color', image)
winname = 'Change color'

def onChange(e):
    print(e)
    r = cv2.getTrackbarPos('R', 'Change color')
    g = cv2.getTrackbarPos('G', 'Change color')
    b = cv2.getTrackbarPos('B', 'Change color')
    print(r, g, b)
    image[:] = [b, g, r]
    cv2.imshow('Change color', image)


cv2.createTrackbar('R', winname, 255, 255, on_change)
cv2.createTrackbar('G', winname, 255, 255, on_change)
cv2.createTrackbar('B', winname, 255, 255, on_change)

while True:
    if cv2.waitKey(1) & 0xFF == 'q':
        break

cv2.destroyAllWindows()
관심영역 지정#
import cv2
import numpy as np


is_dragging = False
x0, y0, w, h = -1, -1, -1, -1
blue, red = (255, 0, 0), (0, 0, 255)

def onMouse(event, x, y, flage, param):
    global is_dragging, x0, y0, image
    if event == cv2.EVENT_LBUTTONDOWN:
        is_dragging = True
        x0 = x
        y0 = y
    elif event == cv2.EVENT_MOUSEMOVE:
        if is_dragging:
            image_draw = image.copy()
            cv2.rectangle(image_draw, (x0, y0), (x, y), blue, 2)
            cv2.imshow('image', image_draw)
    elif event == cv2.EVENT_LBUTTONUP:
        if is_dragging:
            is_dragging = False
            w = x - x0
            h = y - y0
            print(x0, y0, w, h)
            if w > 0 and h > 0:
                image_draw = image.copy()
                cv2.rectangle(image_draw, (x0, y0), (x, y), red, 2)
                cv2.imshow('image', image_draw)
                roi = image[y0:y0+h, x0:x0+w]
                cv2.imshow('cropped', roi)
                cv2.moveWindow('cropped', 0, 0)
                # cv2.imwrite('./cropped.jpg'. roi)
                print('croped.')
            else:
                cv2.imshow('image', image)

image = cv2.imread('../img/cat-01.jpg')
cv2.imshow('image', image)
cv2.setMouseCallback('image', onMouse)
cv2.waitKey()
cv2.destroyAllWindows()